Android Studio FIREBASE
- Firebase Tutorial
- Features of Firebase
- Android Studio
- Firebase - Environment Setup (with android studio)
- Firebase Assistance - Android Studio
- Firebase Authentication
- Firebase: Google Sign-In Authentication
- Firebase: Facebook Sign-In Authentication
- Firebase: Sign-In Authentication Using Phone Number
- Firebase UI: Authentication using email/password
- Firebase UI: Authentication using email link
- Firebase SDK: Authentication using email/password
- Firebase SDK: Authentication using the email link
- Firebase: Realtime Database
- Firebase: Real-time database setup and configuration
- Firebase: Data Organization in Real-time Database
- Firebase: Realtime Database Reading and Writing
- Firebase: Realtime Database Update and Delete
Android Studio
Android Studio Setup
Android Studio is an IDE used for developing android apps, which is officially supported by Google. It is based on IntelliJ IDEA that offers a powerful code editor and developer tools. It is an integrated development environment for Google's Android platform.
Android Studio uses a Gradle-based build system, emulator, code templates, and Github integration for supporting application development within the android operating system. Every project in Android Studio has one or more than one modalities with source code and resource files. These modalities include Library modules, Android app modules, and Google App Engine modules.
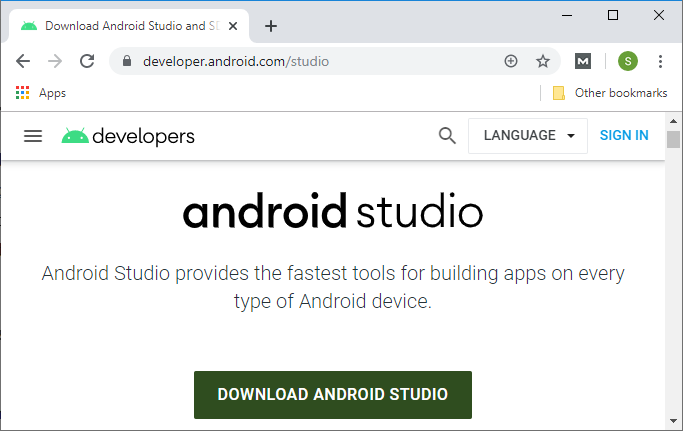
Download Android Studio
Android Studio is available for Windows, Mac OS X, and Linux platforms. We will download the Android Studio from the Android Studio homepage. Here, we will also find the traditional SDKs with Android Studio's command-line tools.
Windows requirements
- It is required that there should be Microsoft Windows 7/8/10 either 32 or 64 bit available in your system.
- There should be 3 GB Ram minimum, and 8 GB Ram recommended.
- There should be 2 GB of available disk space minimum, and 4 GB recommended.
- There should be 1200 * 800 minimum screen resolutions.
Installing Android Studio on Windows 10(64-bit)
Now, we will start installing Android Studio by launching the downloaded .exe file. When we launch this .exe file, it presents the Android Studio Setup dialog box.
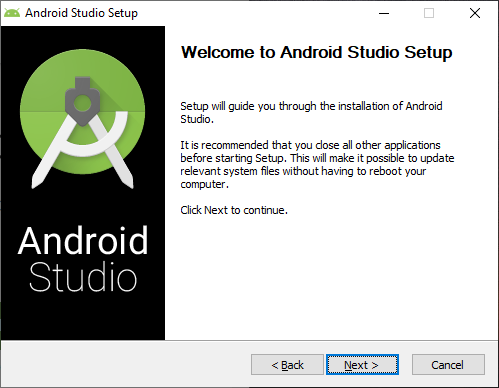
When we click on Next, it shows a new panel which provides the option to decline and to install an Android Virtual Device.
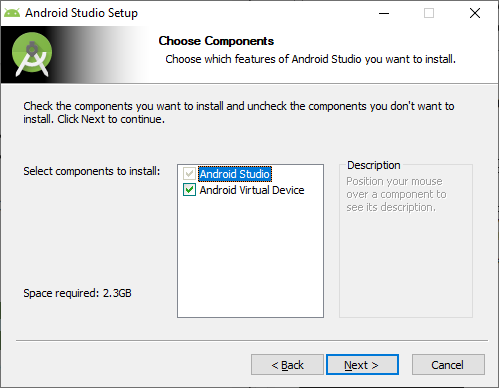
When we click on Next, we will jump to the Configuration Settings panel in which we set the location for installing Android Studio.

Clicking on Next, we will see the Choose Start Menu Folder.
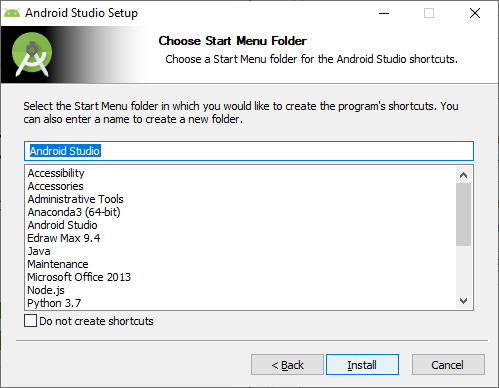
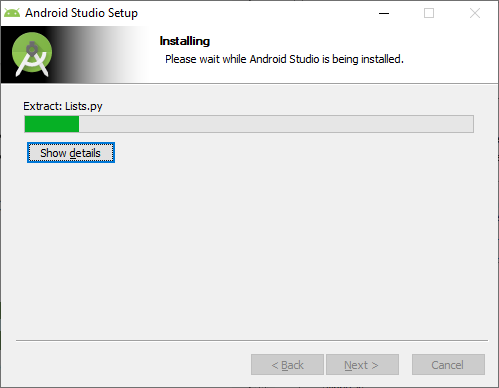
When we click on Install, then installing will start.
 '
'
Starting a new project
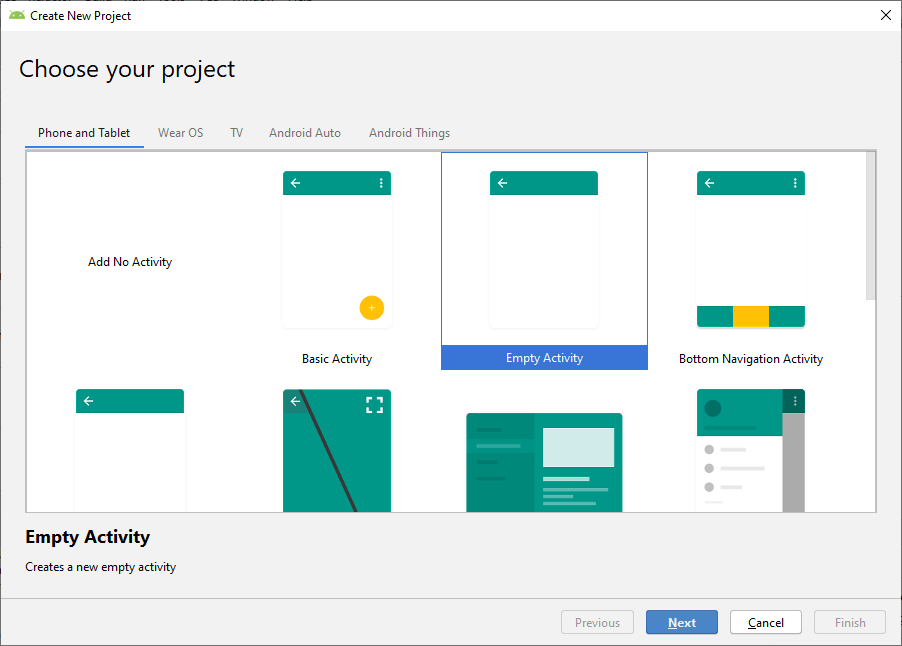
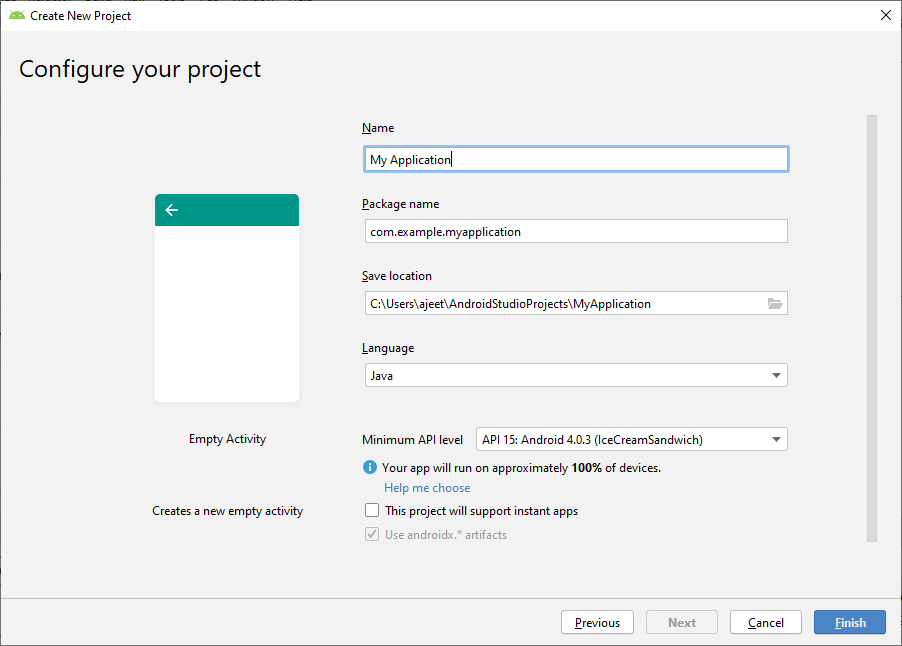
We create a new project by clicking on Start a new Android Studio project from Welcome to Android Studio dialog box.

